Glyn Dewis
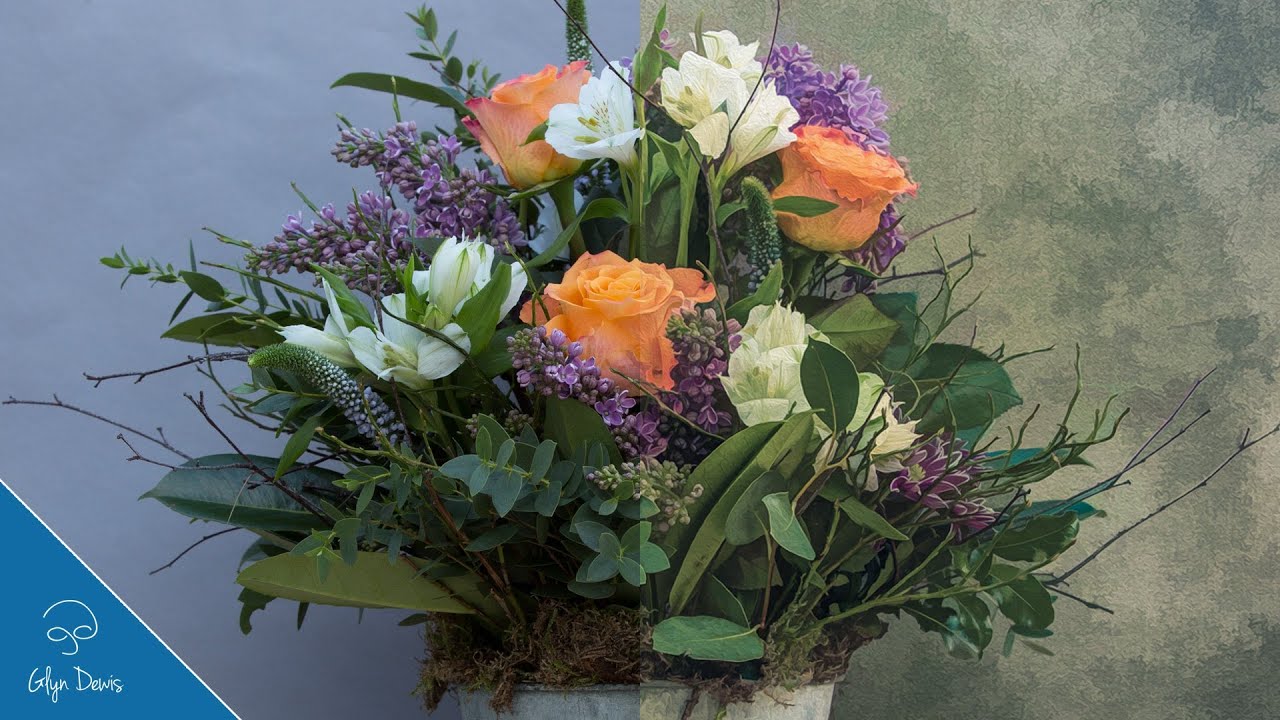
In this video (#36) I show you retouching techniques for creating your very own still life pictures PLUS how to add the Painterly / Abstract effect.
Also check out the Topaz Simplify 4 Plug In that I mention at the end of the video and get 50% OFF until the end of February 2014 by visiting the link below and using the following code: febsimplify
Topaz Discount Link: http://bit.ly/1fbp4Ob
Each week I also produce a Photography, Photoshop and Lightroom Video Show; a weekly video that goes ‘Live’ each and every Thursday where you can learn all manner of Photography, Photoshop and Lightroom Tips, Tricks and Techniques for Retouching, Compositing, Special Effects, Workflow and more. Come back each and every Wednesday for new episodes!
Visit my channel for more FREE videos:
http://www.youtube.com/user/GlynDewis
Check out my Web Store for Full Length downloadable tutorials:
http://www.glyndewis.com/store
Subscribe to get notified about my latest videos:
http://www.youtube.com/user/glyndewis?sub_confirmation=1
This weekly Show is also available on iTunes as a Video Podcast
https://itunes.apple.com/gb/podcast/glyn-dewis/id779570614?mt=2
Thanks for stopping by.
Glyn
Source


Thanks very much for sharing! Just tried it!
I am missing something in this video. After I make my selection and then save my selection and then hit de-select, when I add the paper texture it covers the entire photo and not just the background. I can't figure out what I am doing wrong 🙁
Thanks for the video. Is it possible to show the flower's shadows on the background?
Hi Glyn, I love your techniques in this video! You introduced me to the Oil Paint filter here back when you uploaded it…I love that filter, but I just realized that it is gone! "Grumble….grumble…" What do you use now that it is gone?
on filters I haven't got oil paint on the menu at 15.20" really enjoying this tutorial
genius!
How are you mounting your images on the wall there behind you
@Topaz Labs have a 50% OFF promotion running until the end of this month on their Topaz Clean plug in.
I use this one a lot to create an alternative to my cartoon / painterly look as in this video but it's also great for skin softening.
Here's the link: http://bit.ly/1mQLeW3
PHOTOSHOP TUTORIAL: Still Life Retouching Techniques #36
you plugged a plug in…lol. Great video Glyn. Going to share on Twitter as well. Thanks for all your great free tutorials.
Thanks!!
It's ok, fixed!!!
Glynn I don't seem to have adobe Exchange option in CS6 – is this a CC thing or do in need to select it somewhere please?
Call me dumb…or blonde….or whatever, but the quick mask for me affects the black bit instead of the background….what am I doing incorrectly
Glenn, not all of us enjoy the latest release of Photoshop!! It'd be really nice of you to demonstrate how similar effects can be achieved in the earlier versions of Photoshop!
You are awesome!!!!
Very cool. Thank you 🙂
Do you ever capture your own textures with a camera and blend that with another photo? Do you have a tutorial on that? You opened the converted layers to smart object and then were able to open that into camera raw. Is that a new feature in CC or have I just been missing that in CS6?
Anyway, thanks again 🙂
Glen, at first, I thought that this tutorial would be something I would never use…….but, again you have opened my eyes to a whole new way of going forward with my learning. I have tried this process and am blown away at how fun this is and also with a huge potential. Thanks pal, keep them coming. Haven't seen a boring one yet.
Enjoying these 'fine art' tutorials at the moment Glyn; very polished and professional as always with a great, easy going presenting style. Keep 'em coming mate! Also wise words indeed about continuing to shoot 'outside your comfort zone', finding new subject matter that you wouldn't normally try, especially with the weather over here being rubbish of late. Continually striving to learn new techniques in photoshop to reinforce knowledge already gained I always find helps pay dividends later on, sometimes in the most unexpected ways. Great work fella!
Great tutorial — so much great information–I think I'll watch it again–thanks
First of all: Thanx Glyn for your great tutorials. I realy love them and they help me al lot. You're the master when it comes to retouching in Photoshop!
My question is about the photo… Maybe it's a very dumb one, but I was wondering why you took the shot at an iso of 200. Why not iso 100, when you're shooting with a trippod? The shutterspeed doesn't matter then, right?
Kind regards and thanx again for your great video's!!
Hermen
i just unsubscribed your channel so i can subscribe it again 😀
This was a great tutorial. I make a lot of still life images, and I found plenty to inspire me here. Thank you for taking the time to post these tutorials every week.
i follow many channels of photoshop tutorials but you & Dekes are the best. thanks
As ever great tutorial Glyn, really enjoyed it! Just one little thing, I actually took a similar image so that I could work along with you on my computer. One thing I found in my version of Photoshop CC is that I can't see the full menu for the Gradient Editor, the sliders etc. Any idea why?
Just absolutely brilliant.
Hi Folks, just to let you know that episode 36 of my weekly podcast / show is now online and this week I'm going through the complete retouch of my recent Country Bouquet picture PLUS give you a look at the @Topaz Labs _Simplify 4_ Plug In!
PHOTOSHOP TUTORIAL: Still Life Retouching Techniques #36
Hope you 'Like' it 🙂
PHOTOSHOP TUTORIAL: Still Life Retouching Techniques #36
Awesome tutorial!Thanks