Infinity MFG
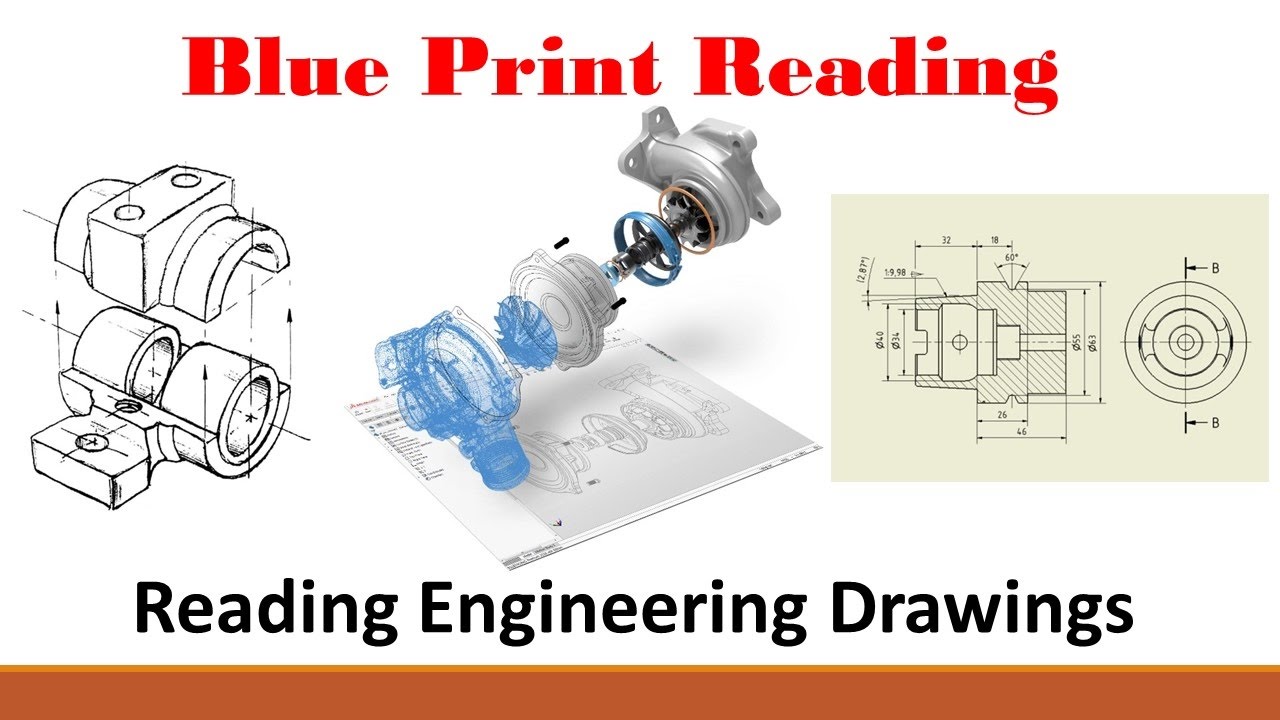
This video discusses the basics of reading engineering drawings. It covers several fundamental topics:
1) The layout of the drawing
2) Title block
3) First VS third angle projection
4) Orthogonal versus isometric views
5) Assembly drawings, Exploded views
6) Section views and detailed views
Facebook: https://www.facebook.com/infinitymfg/
Twitter: https://twitter.com/?lang=en
Google +: https://plus.google.com/u/0/b/115170678794551804669/communities/116597582865916960234
Source


For other videos on engineering and manufacturing subjects:
Strength of Materials: https://www.youtube.com/playlist?list=PLAXJqmuqGEr7QjsVVyl5jFY6HQTqw6Bfq
Metal Casting: https://www.youtube.com/playlist?list=PLAXJqmuqGEr4wiY6xroSK67CXeTu0Otmk
Quality: https://www.youtube.com/playlist?list=PLAXJqmuqGEr4LQvNzKHGO9l00gEN4gmSP
Design: https://www.youtube.com/playlist?list=PLAXJqmuqGEr706zgRtnwgQiFC5FYLvaTr
Automation: https://www.youtube.com/playlist?list=PLAXJqmuqGEr6O_nQ-n08qmrtNnAUruj3b
Calculus: https://www.youtube.com/playlist?list=PLAXJqmuqGEr7Ayo18H7tknyQAJu1OcoUW
Hidden lines missing on top view.
I'm an engineer why am I watching this lol
This may get me the engineering job tomorrow it has definitely expanded on my knowledge. Cheers mate
you have a issue at first an third angle proyection 3 is used at US 1 angle is used at Europe or your image are rong
I have an online CAD course and there was no information about reading the drawings that we were supposed to model. Really great video, thank you!
Wrong information told by the instructor. Correct one is — 1ST ANGLE USED IN EUROPE AND ASIA, 3RD ANGLE USED IN NORTH AMERICA.
Glad I found your channel. I just started to retrain myself to be a Machinist at 54 years old. I don't know how realistic that is but I'm determined to learn. because I inherited my dads Late and Vertical mill and I would like to work out of my own shop again. This is a good video even if it made my brain hurt.
what is the difference between Drawing number & Part Number
You are a life saver mate. I have been looking for this comprehensive coverage of engineering design for years. Thanks !!!!
Sir, at around 23:58 you have it reversed. The U.S. and Canada (basically North America) uses the ANSI standard 3rd angle projection, Europe uses ISO standards 1st angle projection. In 1st angle projection the Top View is displayed beneath the front view, and the Right side view is displayed to the LEFT of the front view. Thank you for your interesting videos, they are explained very well from the ones I have viewed.
Nothing covering grain direction?
By he way, ho does one determine curves of a design, R16.00, R12.5 ect?
This was great! I'm making the transition from fashion design to industrial design. Thank you.
what is the name of the music I love it
Great video
Probably a good video. Cant handle the distracting music. Like trying to study in a disco.
As a guy who does this for a living, I find it pretty useful to share your videos to someone, when they ask me to teach them about CAD drawings and stuff, you explain this stuff a lot better than I can, great job man, keep up the good work.
What does the scale denoted? e.g. 1:2
When a drawing uses 2 types of units, such as fractions & decimal inches, dual dimensions should be used
ANSI/ASME call out all dimensions as being horizontal
Great Thanks!
please do more video
lamanya
In addition to first & third angle projection mistake, please, also note the mistake in Detail view section (around 16:50) – the scale is totally wrong. How it is possible to use such scale?! Please, refer to the final drawing (the flange plate around 21:20) and check the correct scale for detail views.This video should not be used by beginners at all. It plants a very, very wrong information and later it will confuse you. I already had a discussion with a person, whose main argument was "But, I saw it on YouTube channel – so it is true! Period!"
Sub to sub sir…kudos
Very informative👏👏👏
US = 3rd Angle
Europe = 1st Angle
Please can u keep exercises
You are the best. Thanks a lot.
Is it true that the top of the part in horizontal orientation while viewed in first angle projection or any layout is opposite of the title block? If the TB is located on the bottom right corner then the workpiece top would be on its left side yes?
thank you for this nice discussion , need more about engineering drawing
This was very helpful sir, thanks for sharing!!!!
My instructor tossed a packet thicker than the bible and told us to figure it out, outside of class =( This may be basic info to veterans of the industry but for someone with no engineering background, the basics is the foundation and your method of teaching by far trumps how my instructor presented the same information. Bar-none.